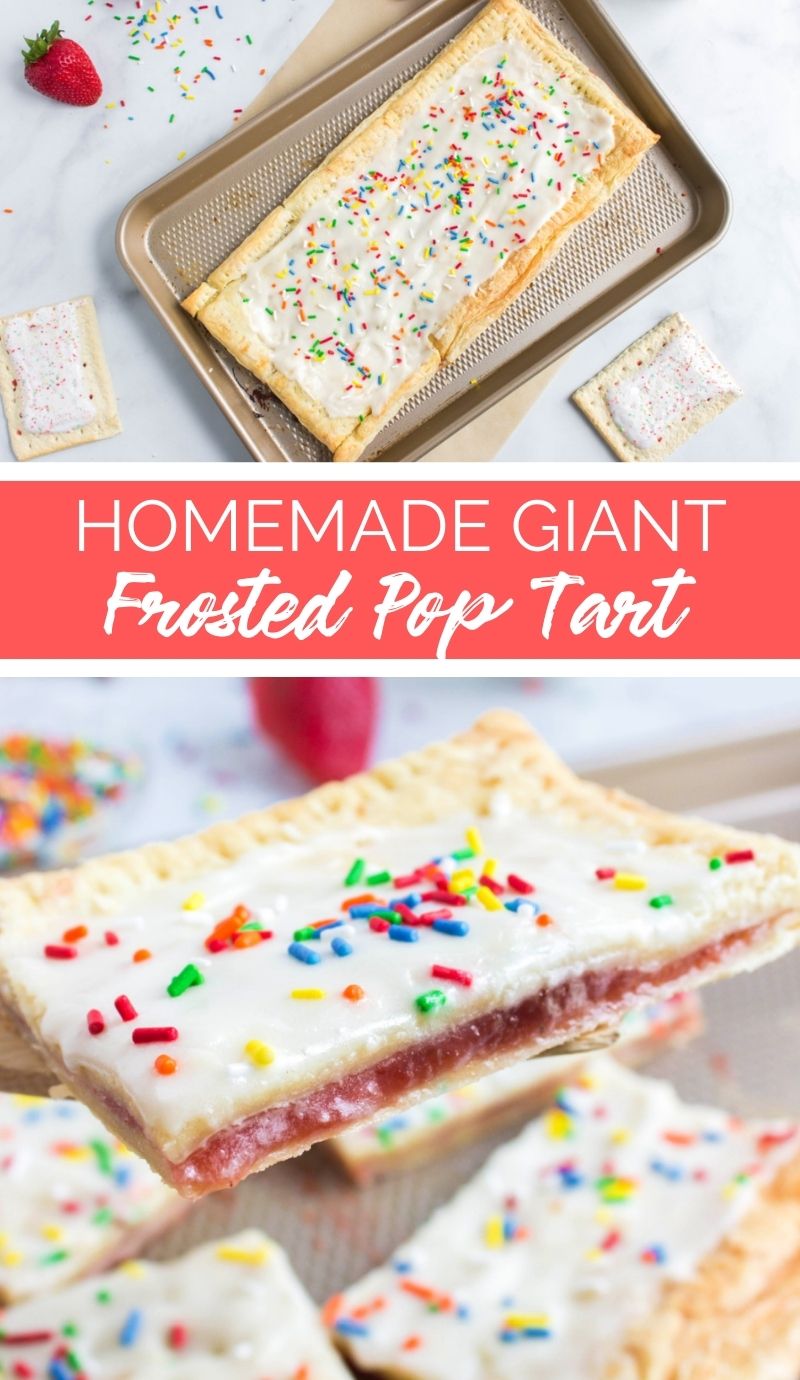
Remember when you were a kid, and the ultimate breakfast treat was Pop-Tarts? That tender, buttery pastry crust, with the warm, sweet filling oozing out and the frosting melting on top, always gave the morning meal a little touch of magic. So what could be better than a GIANT homemade version?!
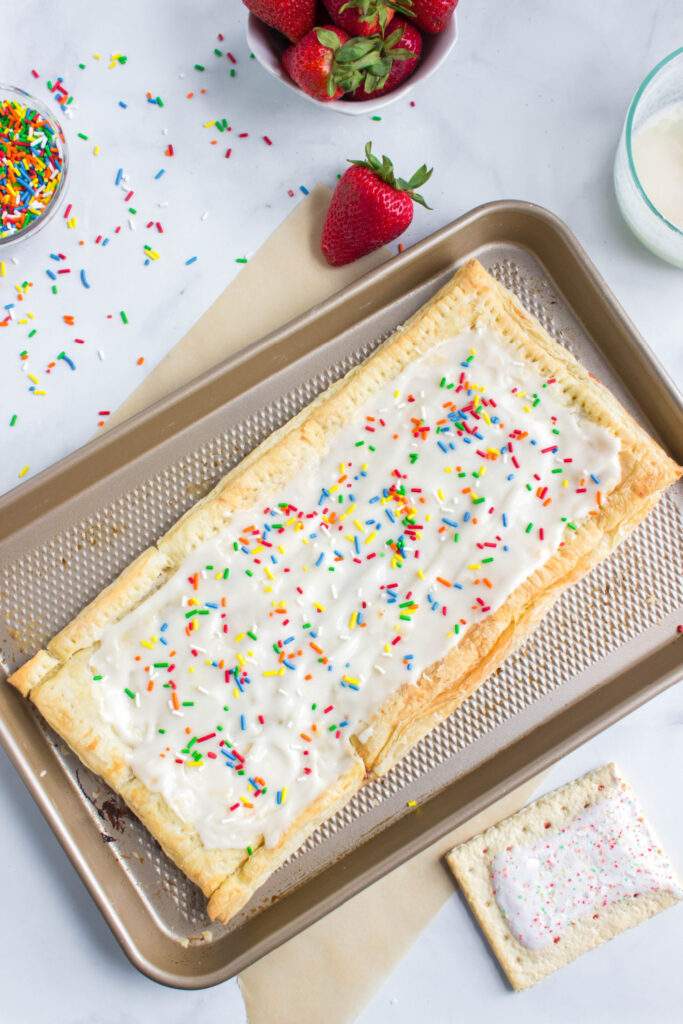
This Homemade Giant Frosted Pop Tart uses a whole sheet of frozen puff pastry for the top crust, and another for the bottom crust. I used an egg wash “glue” to hold the two sheets of pastry together, with the strawberry jam filling sandwiched in between.
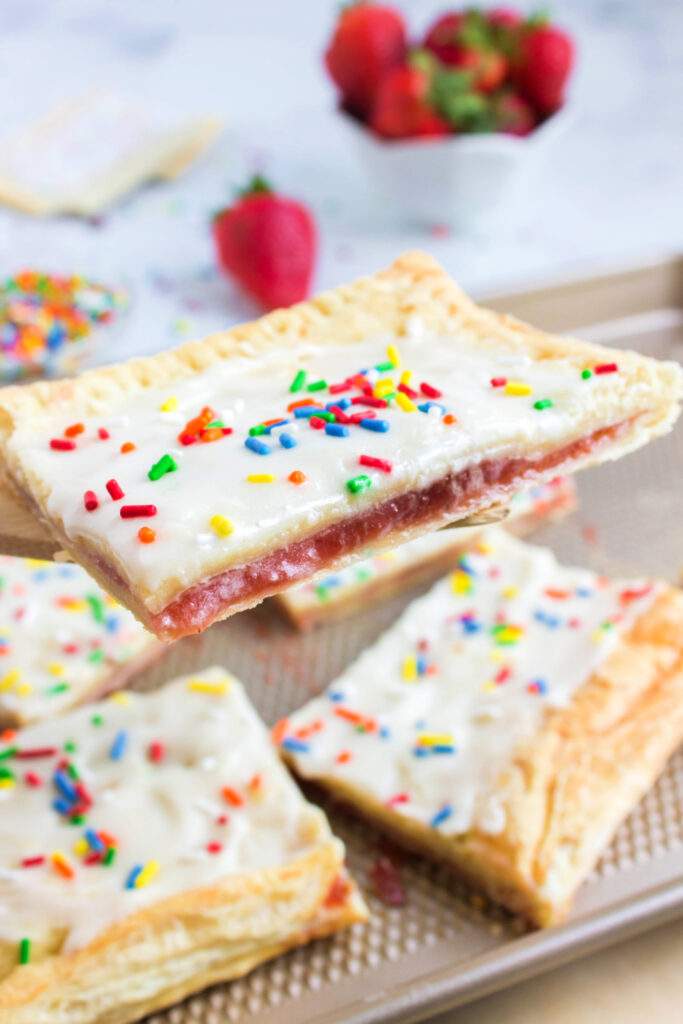
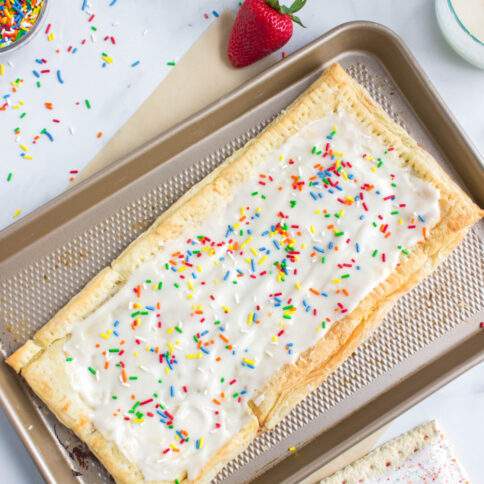
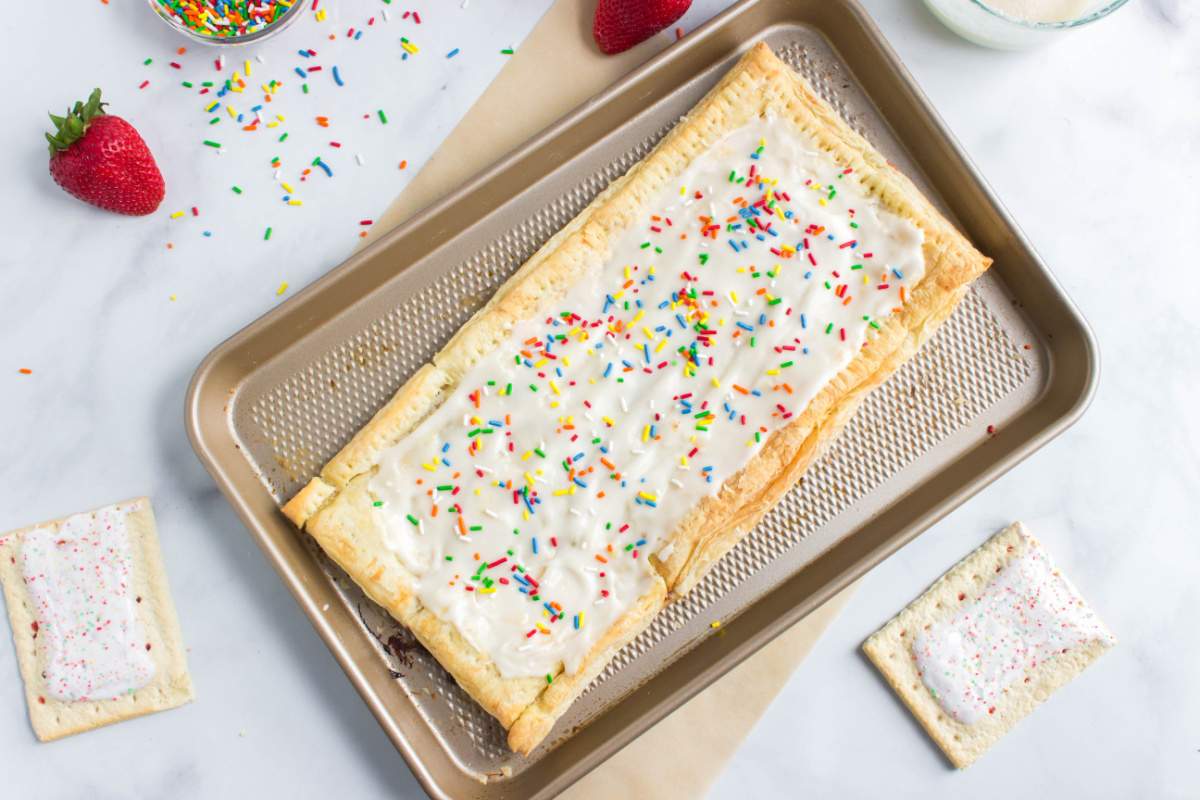
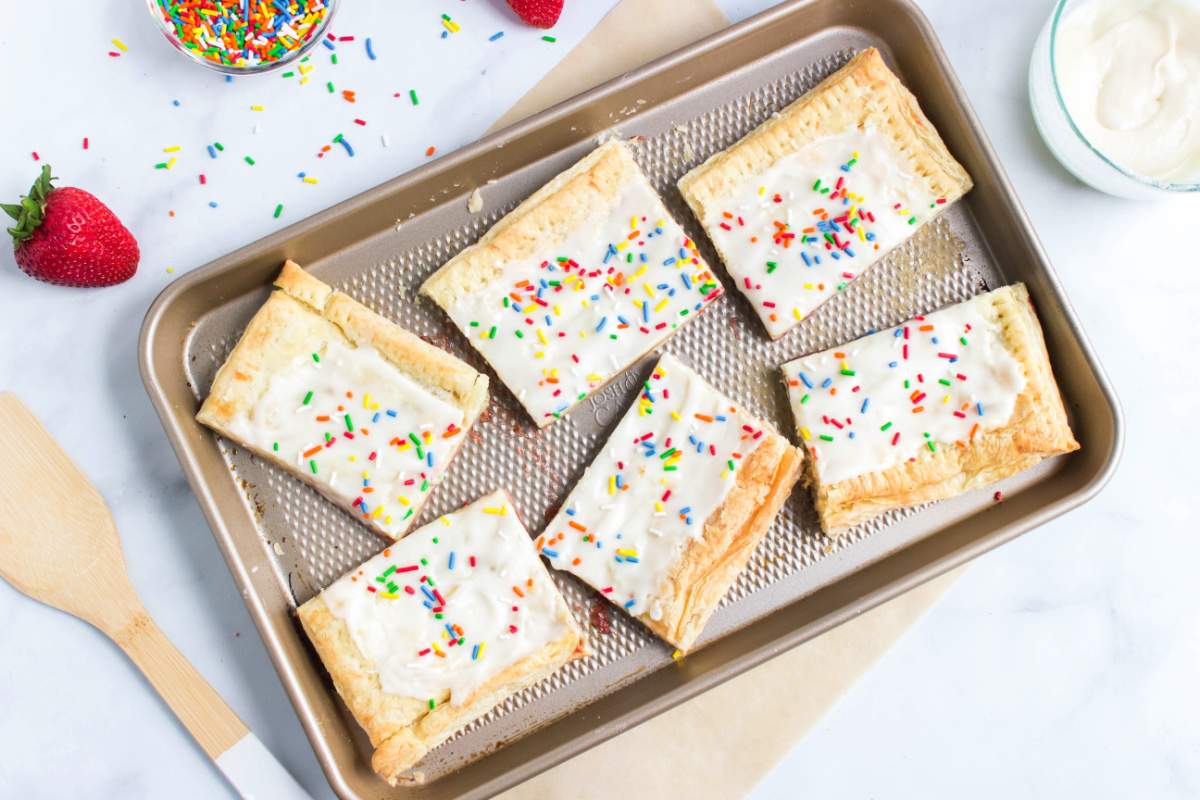
This monster tart obviously wouldn’t fit in the toaster, so I baked it for just 15 minutes in a hot oven and then topped it with a sticky-sweet powdered sugar glaze. And to complete the look, I covered it all over with colorful sprinkles.
Of course! It’s easy to swap out the strawberry jam for blueberry, raspberry, cherry, or mixed berry. You can even dye the glaze with food coloring to match the look of the original. And for a chocolate Giant Pop Tart, why not fill it with Nutella? Mmmmm!
Your best bet would be to roll out the dough, make the tart, and then freeze it before baking it. You can pop it in the oven straight out of the freezer, though it may take a couple of extra minutes to bake. But of course, this only works if you have a freezer that’s big enough to store this gigantic tart
Homemade Giant Frosted Pop Tart
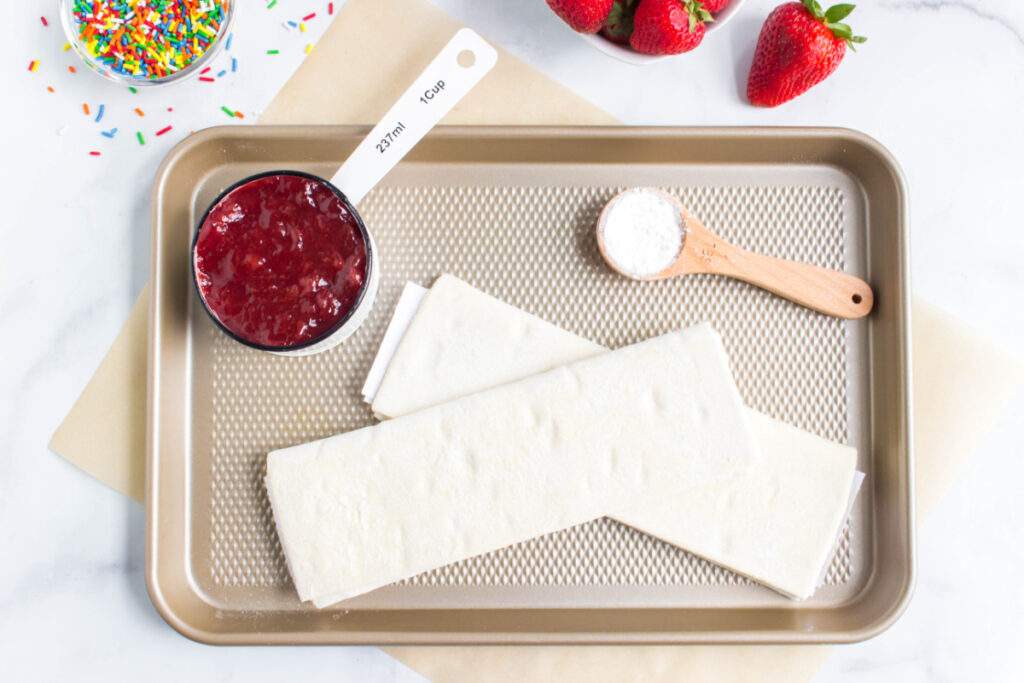
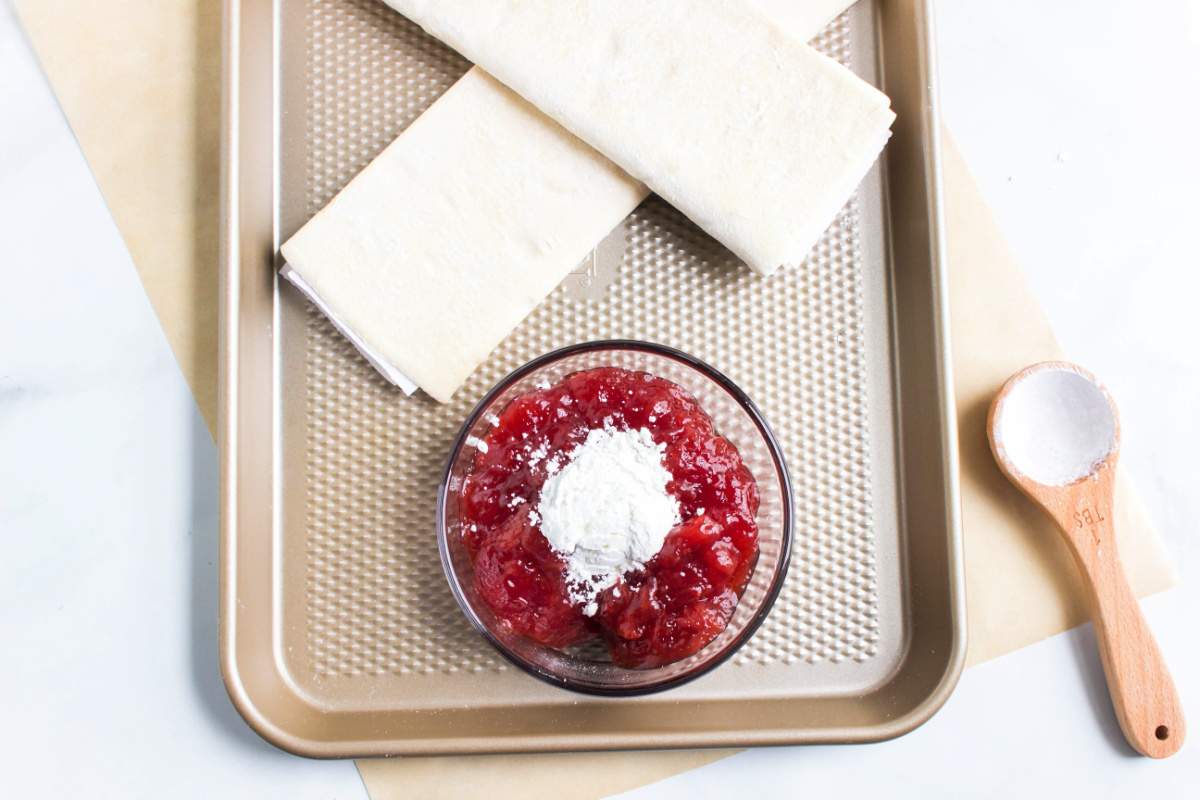
- Thaw puff pastry according to the package and preheat your oven to 400. While it is thawing you can prepare your jelly. Simply measure out a cup of jelly and add 1 TBSP of cornstarch to help thicken it up. Mix well.

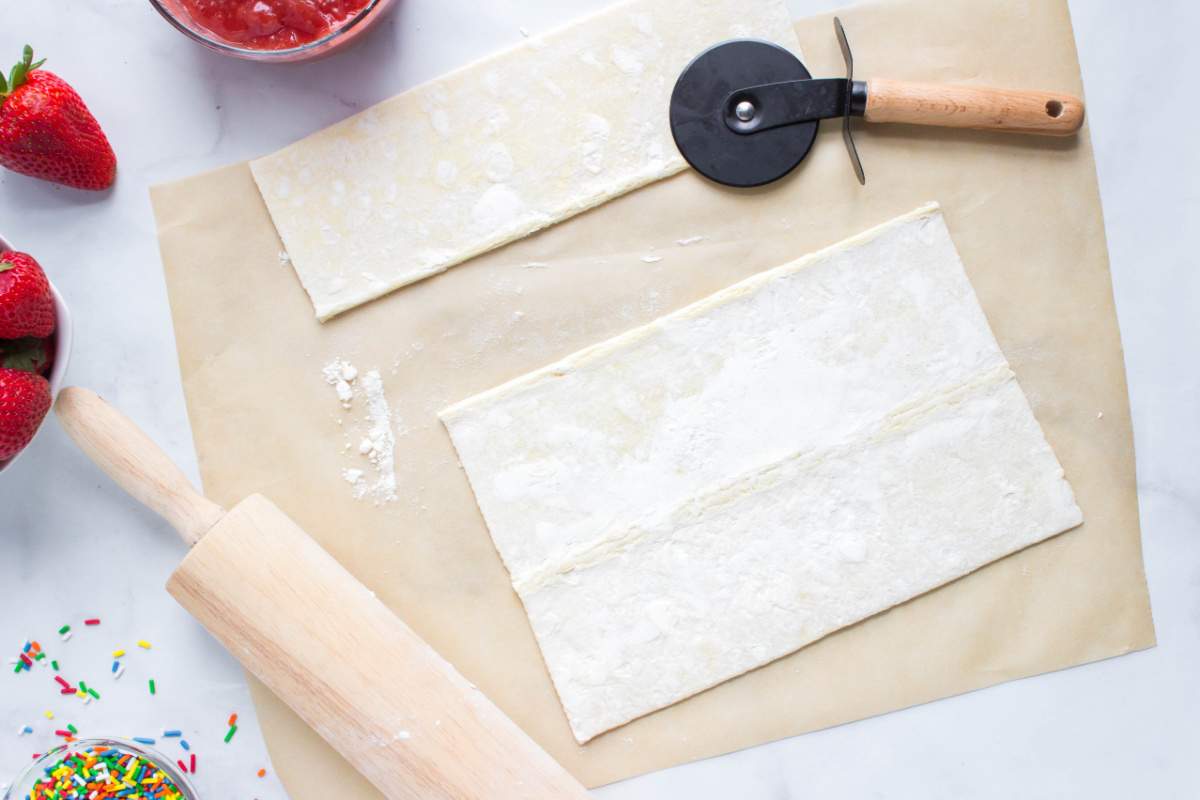
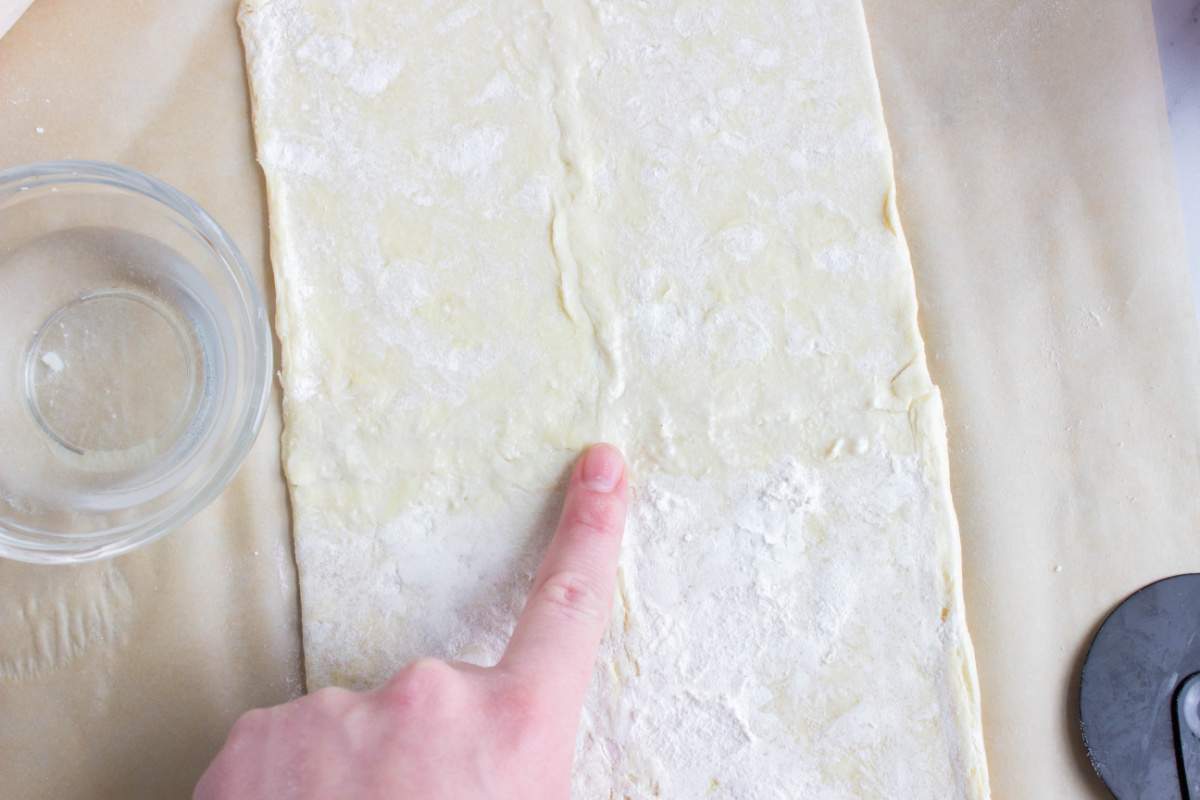
- Once your puff pastry is thawed, it is divided by 3 sections. Using a pizza cutter or knife, cut one third of the pastry, leaving a rectangle. Now take that cut third and then cut it in half. Next, spray your baking sheet and place your rectangle pastry on the baking sheet, then you will take your two halves and place them at the top of the rectangle, overlapping a little, forming one long rectangle. Using warm water, wet your fingers and press the seams together so that the cut pieces form with the rectangle. If you need to trim any of the ends to make sure you have room on your baking sheet, do that as well.


- Do the same for your second sheet of puff pastry that will go on top. Set aside it you have completed steps 3 and 4.
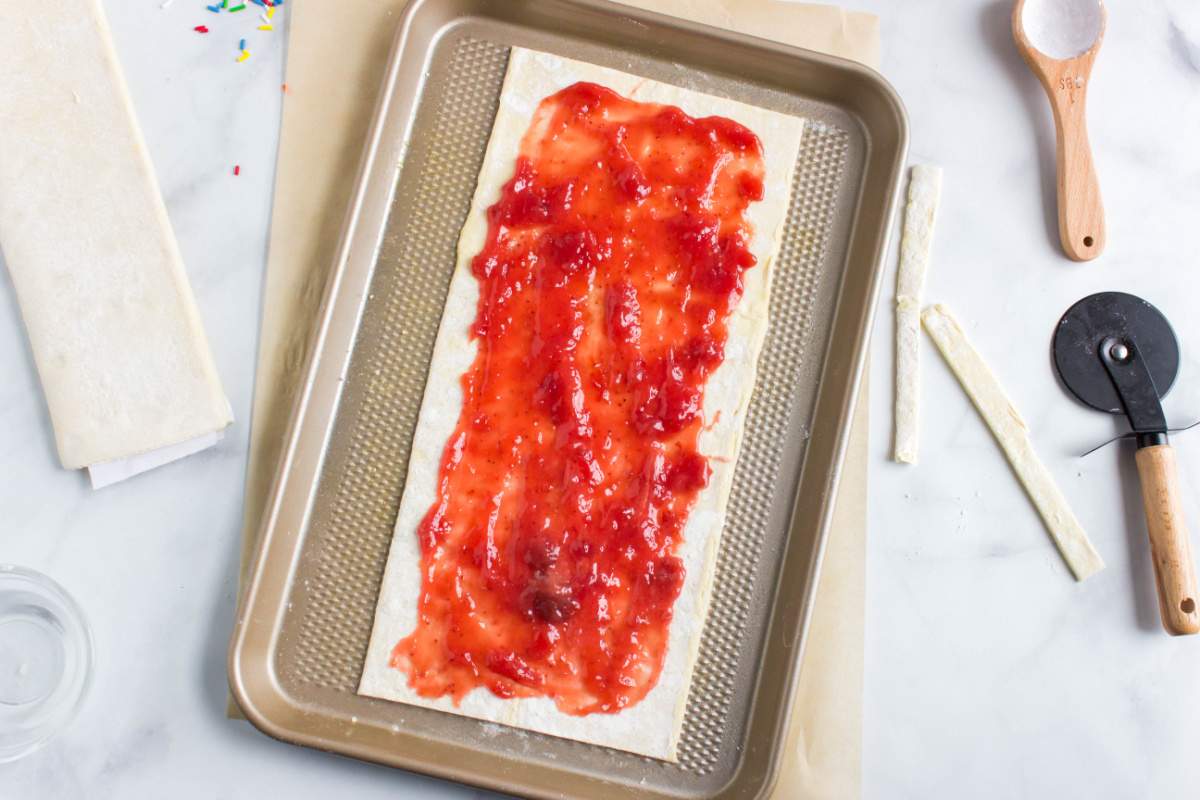
- Next take your jelly and spread a layer down the middle of your rectangle, leaving room around the edges. I did not use the entire cup, but if you would like to make it a thick layer or a thin, it is all your preference….can you really go wrong?

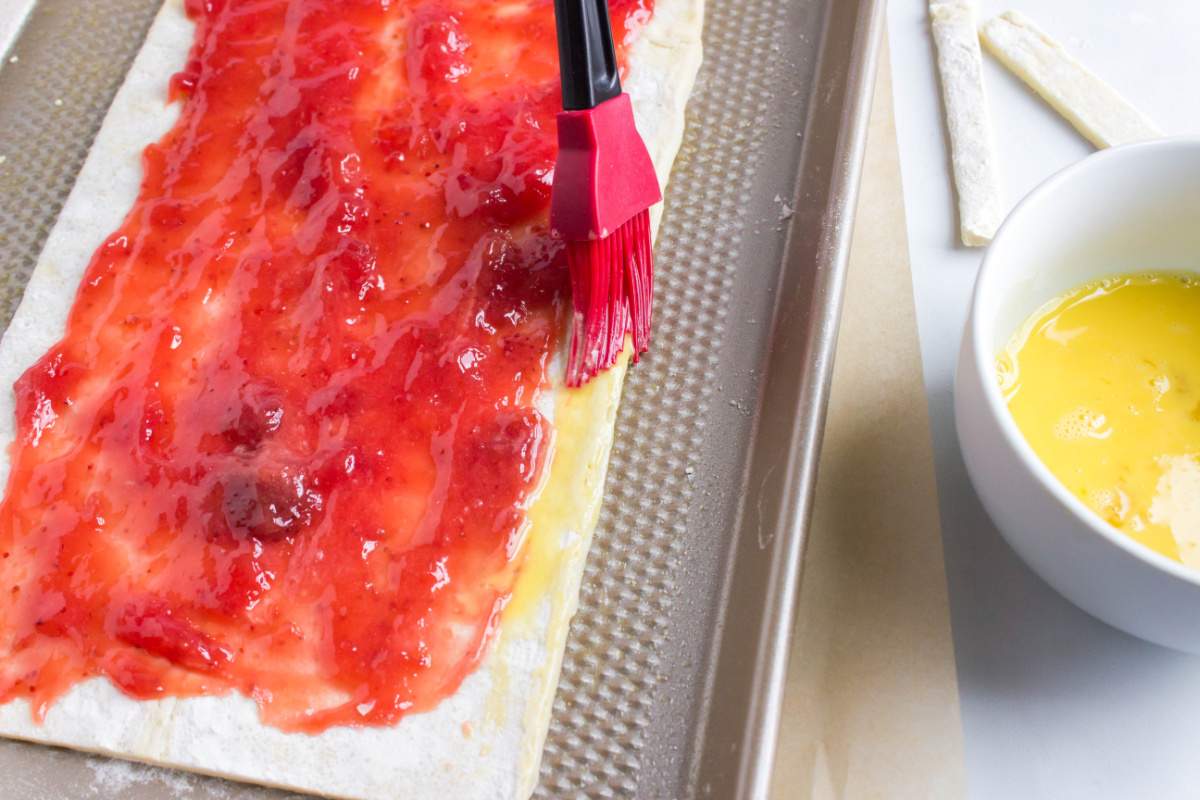
- Next you will whisk your one egg in a little bowl and brush the edges of the puff pastry. This will act as your “glue” between your two puff pastries.

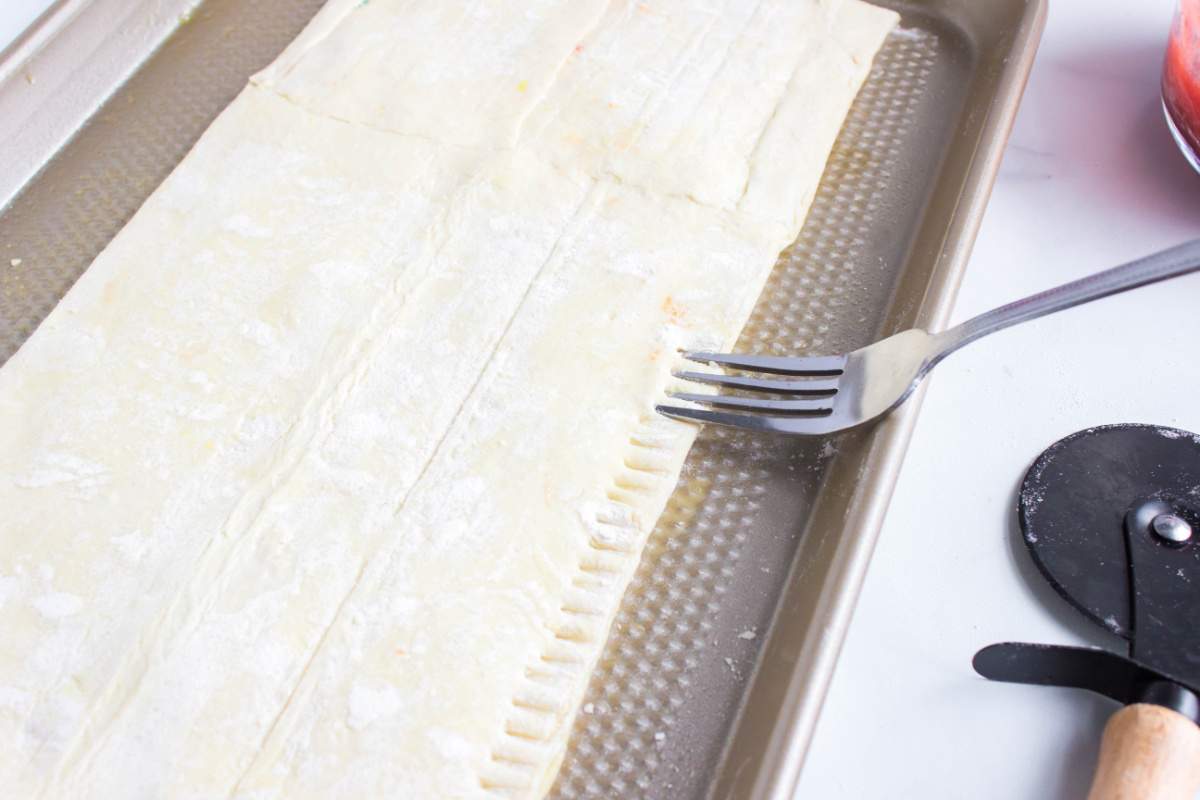
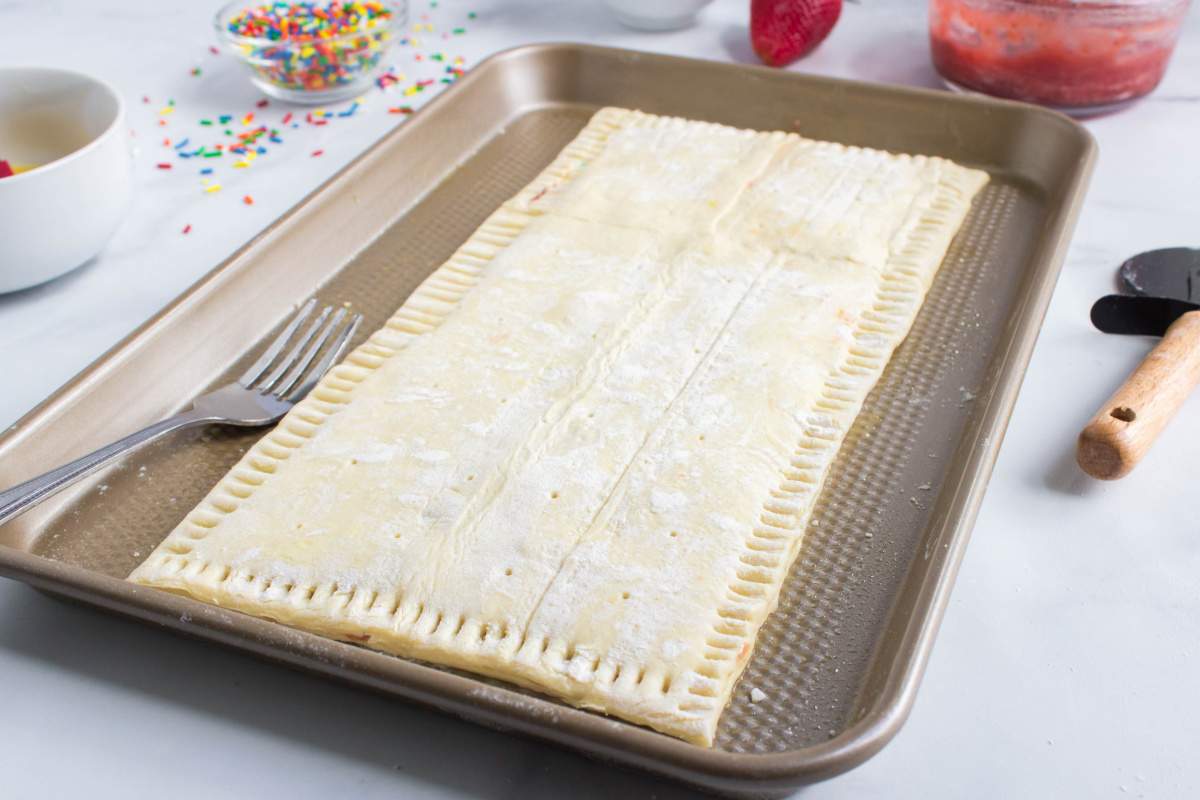
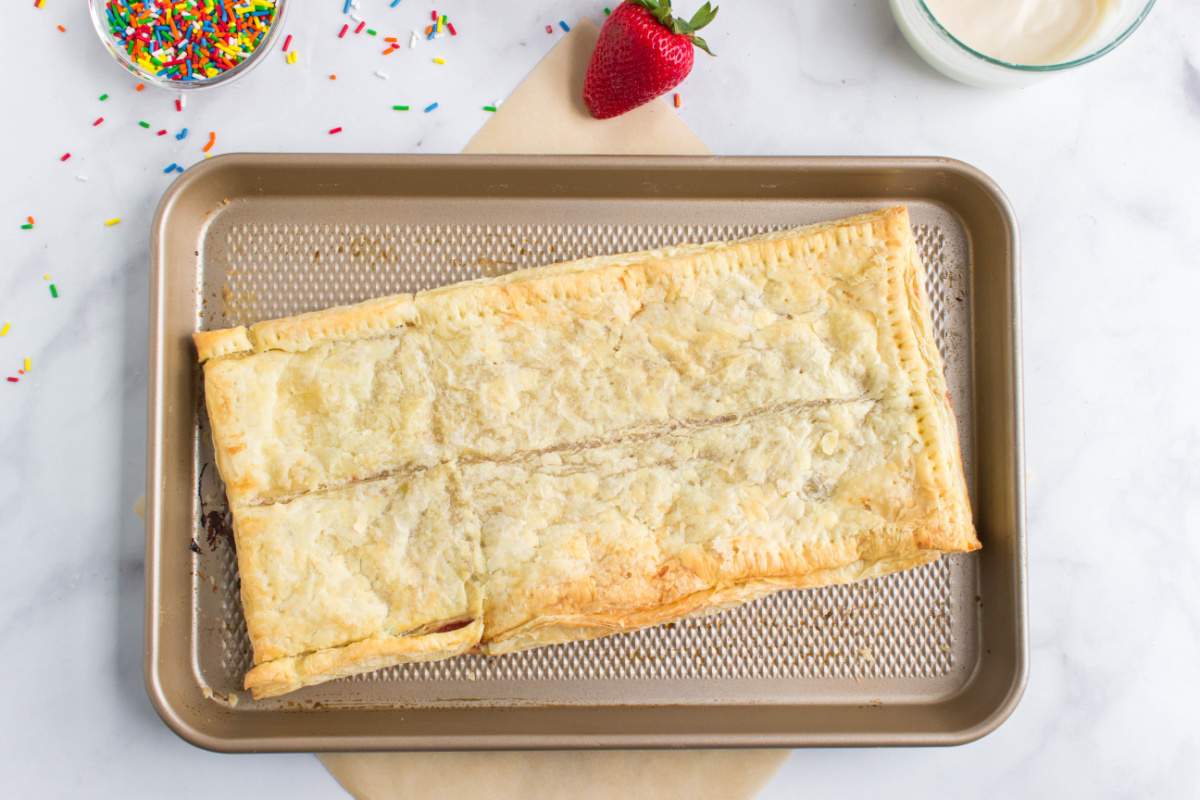
- Lay your second puff pastry on top and using a fork, make indentions all the way around the pastry. Then you will take a tooth pick and poke holes on the top of your pastry. This will be important because it will puff up while it bakes, but when you pull it out of the oven you can use a clean tea towel and push it down and the air will have somewhere to go.

- Bake at 400 F for 15 minutes.

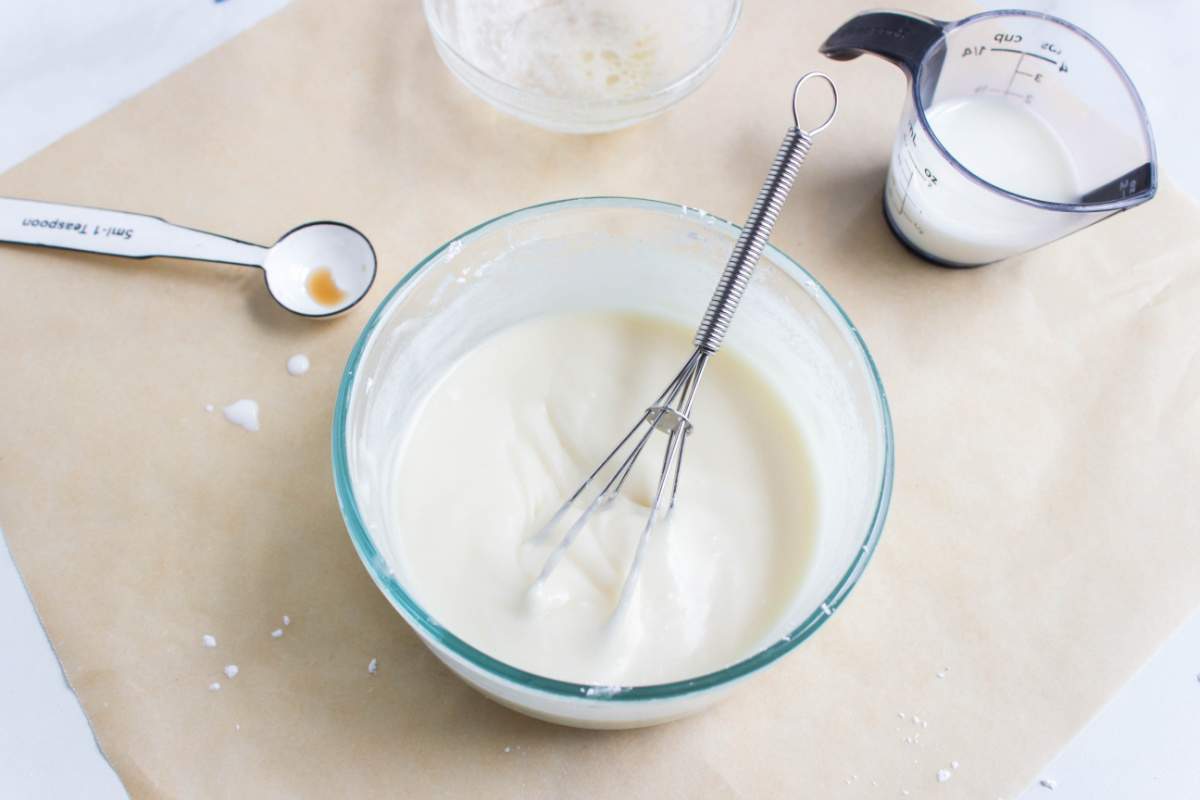
- While it is baking, prepare glaze. Combine the melted butter, the powdered sugar and vanilla. Then slowly add in milk a little at a time till you get the consistency you want. I used about 2 TBSP to get my desired consistency where it was thick but not runny.

- Once your pop tart comes out of the oven, use a towel to push the air out and allow it to cool completely.

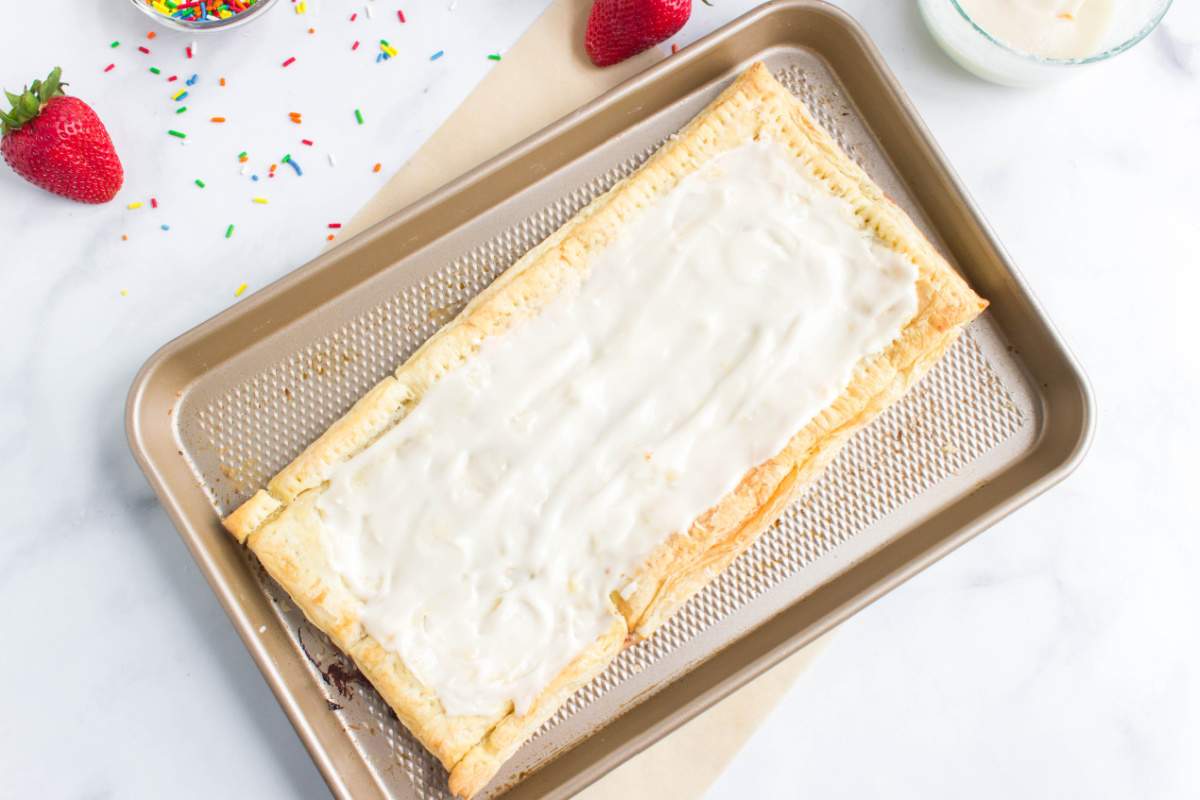
- Once cooled, you can spread on your icing and add sprinkles. I cut mine into 6 servings. Enjoy!


More of our favorite breakfast recipes!
Looking for more free recipes? Subscribe to my newsletter and follow along on Facebook, Twitter, Pinterest and Instagram for all of the latest updates.
Homemade Giant Frosted Pop Tart
Ingredients
- 2 sheets puff pastry
- 1 cup of strawberry jelly
- 1 TBSP of cornstarch
- A small bowl of warm water
- 1 egg for egg wash
Glaze
- 1 cup of confectioners sugar
- 4 TBSP of unsalted butter melted
- 1 tsp of vanilla
- 2-3 TBSP of milk
- Sprinkles for topping
Instructions
- Thaw puff pastry according to the package and preheat your oven to 400. While it is thawing you can prepare your jelly. Simply measure out a cup of jelly and add 1 TBSP of cornstarch to help thicken it up. Mix well.
- Once your puff pastry is thawed, it is divided by 3 sections. Using a pizza cutter or knife, cut one third of the pastry, leaving a rectangle. Now take that cut third and then cut it in half. Next, spray your baking sheet and place your rectangle pastry on the baking sheet, then you will take your two halves and place them at the top of the rectangle, overlapping a little, forming one long rectangle. Using warm water, wet your fingers and press the seams together so that the cut pieces form with the rectangle. If you need to trim any of the ends to make sure you have room on your baking sheet, do that as well.
- Do the same for your second sheet of puff pastry that will go on top. Set aside it you have completed steps 3 and 4.
- Next take your jelly and spread a layer down the middle of your rectangle, leaving room around the edges. I did not use the entire cup, but if you would like to make it a thick layer or a thin, it is all your preference….can you really go wrong?
- Next you will whisk your one egg in a little bowl and brush the edges of the puff pastry. This will act as your “glue” between your two puff pastries.
- Lay your second puff pastry on top and using a fork, make indentions all the way around the pastry. Then you will take a tooth pick and poke holes on the top of your pastry. This will be important because it will puff up while it bakes, but when you pull it out of the oven you can use a clean tea towel and push it down and the air will have somewhere to go.
- Bake at 400 F for 15 minutes.
- While it is baking, prepare glaze. Combine the melted butter, the powdered sugar and vanilla. Then slowly add in milk a little at a time till you get the consistency you want. I used about 2 TBSP to get my desired consistency where it was thick but not runny.
- Once your pop tart comes out of the oven, use a towel to push the air out and allow it to cool completely. Once cooled, you can spread on your icing and add sprinkles. I cut mine into 6 servings. Enjoy!
Save this recipe for later! Click the heart in the bottom right corner to save to your recipe box!
Nutrition Information:
Nutrition Disclaimer
Family Fresh Meals is not a dietician or nutritionist, and any nutritional information shared is only an estimate. We recommend running the ingredients through an online nutritional calculator if you need to verify any information.
Leave a Comment